Whether you’re a hobbyist or a pro, having the right workspace is key to your success. We’ll guide you in making a strong and adaptable DIY wood workbench. This will turn your workshop into a place that’s both functional and organized. It’s great for woodworking, gardening, home improvement, and general handyman tasks.
The workbench we’re making has a big 65″ x 39″ work area. It gives you lots of room for your projects. It also has three drawers for small tools and screws, a narrow shelf for hardware, and a big shelf underneath for scrap wood and accessories. This design helps keep your workspace tidy.
This workbench is easy to move around thanks to casters. It’s built at a counter-height, making it comfy and ergonomic to work at. This design is similar to a kitchen countertop.
Key Takeaways
- Build a sturdy and customizable DIY wood workbench for your workshop
- Ample 65″ x 39″ work surface with storage options for tools and accessories
- Mobility provided by casters for easy movement within the workshop
- Counter-height design for comfortable and ergonomic use
- Suitable for a variety of tasks, from woodworking to gardening and home improvement
Materials and Tools Required for Building a Wood Workbench
Essential Materials
Building a strong and useful wood workbench needs quality lumber like fir or spruce for the legs, top, and stretchers. Choose lumber that is straight and strong. You’ll also need wood glue, dowels, and angle brackets for a solid build.
Necessary Tools
To make your wood workbench, you’ll need various woodworking tools. These include a jointer, planer, table saw, miter saw, drill, doweling jig, router, and a wide router bit. These power tools will make building easier and faster. Or, you can use hand tools if you prefer.
| Material | Quantity |
|---|---|
| Fir or Spruce Lumber | 4 rails at 45 inches, 2 rear posts at 58 inches, 4 end rails at 17 inches, 1 top rail at 48 inches, and 2 front posts at 36 inches |
| Plywood | 2 shelves, each measuring 24 x 48 inches |
| Wood Screws | 2 1/2-inch |
| Wood Glue | Approximately 70-100 3/8 or 1/2 inch dowels |
| Angle Brackets | 8 |
With the right wood workbench materials and woodworking tools, you’re ready to build a strong and dependable workbench. It will be great for your DIY projects and workshop.
Constructing the Solid Workbench Top
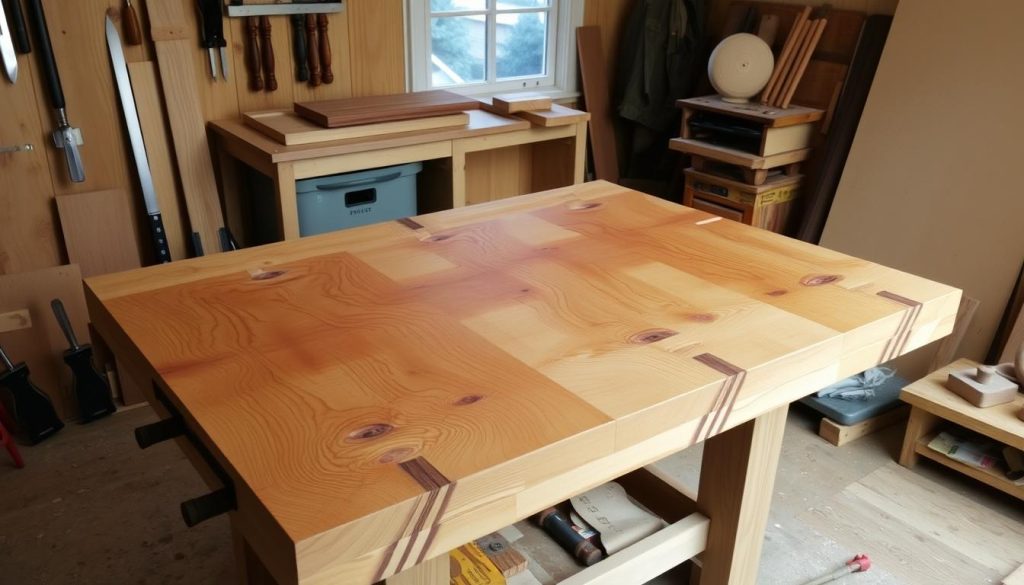
Building a sturdy woodworking bench top is key for your DIY workbench. You need a solid, flat surface that can handle woodworking tasks. Begin by cutting 2×10 boards to the right width. Then, glue these boards together in two sections to make a top about 21 inches wide.
Use lots of wood glue and clamps to make sure the joint is strong and gap-free. After the glue dries, use a thickness planer to flatten one side of the two sections. Then, glue the sections together to create the full woodworking bench top.
This method of building the top is easy, stable, and lets you replace boards if needed. When attaching the boards, nails are better than screws. Nails let the wood move naturally, which is important for your DIY workbench construction‘s long life.
The bench top should be about 75mm (3 inches) thick, or at least 63mm (2 ½ inches). Use 1 ½” x 2 ½” spruce-type wood for this.
To finish your building a sturdy workbench, you’ll need at least 11 clamps for even pressure during glue-up. Apply glue in a zigzag pattern for full coverage, then remove any extra glue. Let the top dry for 24 hours before use. This way, you’ll have a strong DIY workbench for your woodworking projects.
Crafting the Sturdy Legs and Stretchers
Building the solid base of your DIY wood workbench starts with the legs and stretchers. These parts are key for stability and keep your workbench level and strong during projects.
Leg Construction Process
First, mill 4×4 fir or spruce lumber to make four square legs, each 30 inches long. This size and type of lumber make a strong base for your workbench. The workbench leg design is key for a sturdy workbench base.
Making the Stretchers
The stretchers connect the legs and are vital for the DIY workbench legs and workbench stretcher design. Cut 2×10 boards to 7 inches wide, then use a miter saw for the long and short stretchers. These DIY workbench supports link the legs, adding stability to your sturdy workbench base.
The stretchers are key for a building a sturdy workbench base. Long stretchers go along the bench’s length, and short ones connect the legs at the front and back. A miter saw helps cut these to fit perfectly, making the base strong.
Attaching the Stretchers to the Legs
Attaching the stretchers to the legs is key for a stable and lasting woodworking joinery in your DIY workbench. The builder used dowel joinery, drilling holes and adding dowel pins with glue for a strong bond.
Other ways to join your workbench include mortise and tenon, loose tenon, or using bed bolts or threaded rods. No matter the method, a tight, precise fit is crucial for stability.
Joinery Techniques
This workbench has eight identical joints, with two mortises on each leg, 2 1/4 inches deep. Drilling these took about an hour, and another inch was needed with a 1/4″ drill.
It took around 20 minutes to fit each joint perfectly. The center of each cross hole is 3-1/2 inches from the stretcher’s end, for the nuts and washers.
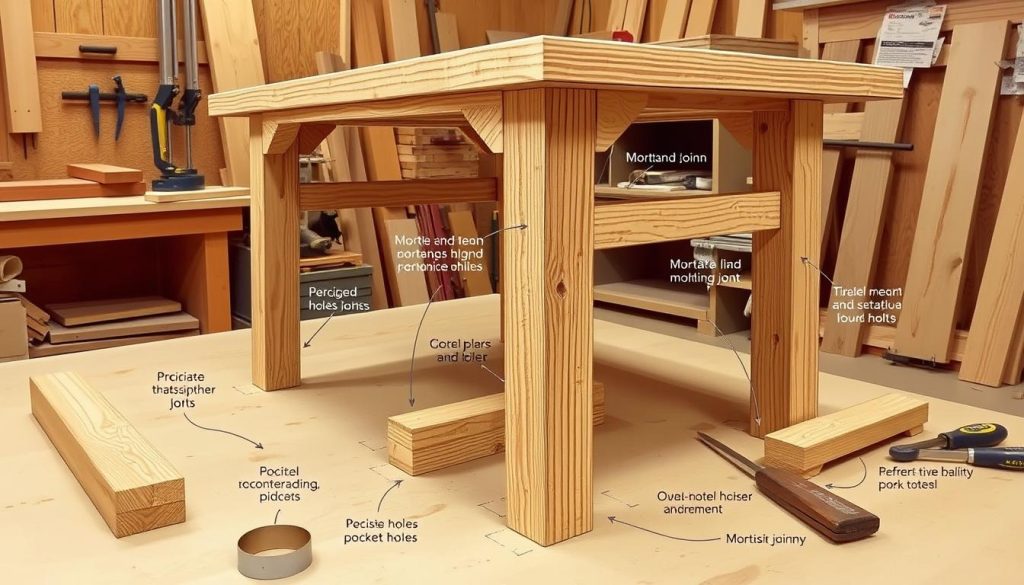
Adding alignment dowels to the stretcher ends helps with assembly and stability. These sturdy workbench construction techniques ensure the legs and stretchers are securely connected. This prevents the workbench from rocking or shifting.
Assembling the Top and Base
Now that you’ve made the top and base of your DIY wood workbench, it’s time to put them together. This step is crucial for a workbench that’s level, stable, and ready for heavy use in your workshop.
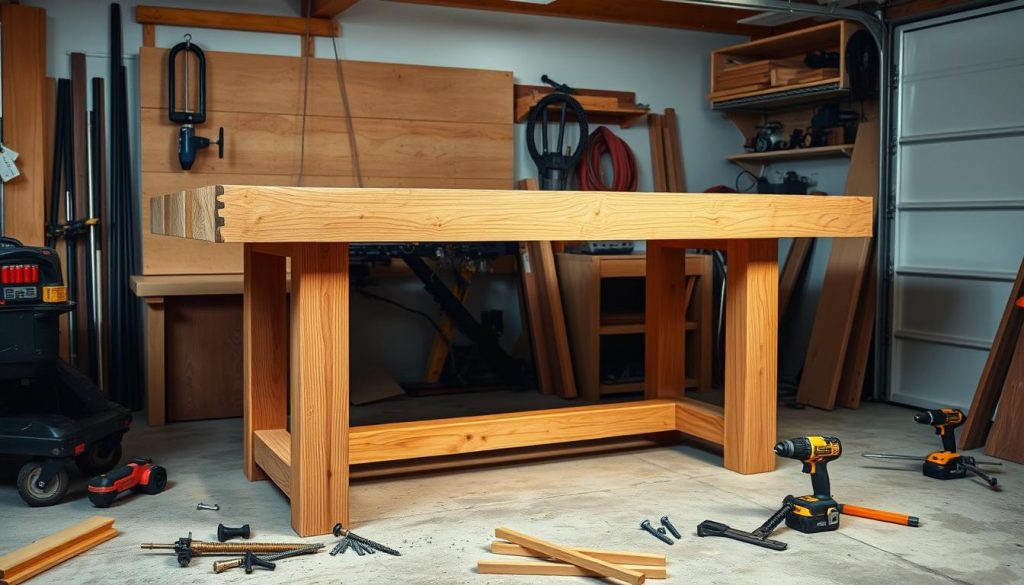
To attach the workbench top to the base, use heavy-duty angle brackets. Screw these into the top and the base’s legs for a strong bond. Make sure everything is lined up right and use clamps to keep it all flush.
- Put the workbench top on the base, making sure it’s in the middle and straight.
- Use wood glue and 3-inch deck screws to attach the brackets to the top and base legs.
- Clamp the top and base together while you’re building to keep the workbench level and stable.
By focusing on assembling your DIY workbench top and base well, you’ll get a strong, wood workbench construction. It will be ready to support all your building a sturdy workbench projects for many years.
“The key to a successful workbench assembly is attention to detail and a commitment to precision. Take your time and get it right the first time.”
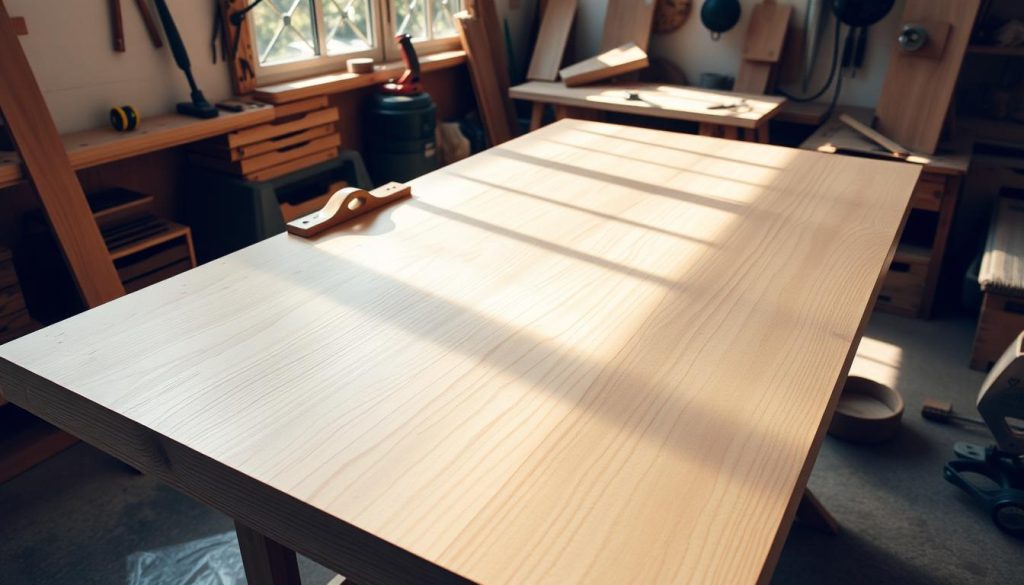
Flattening the Wood Workbench Top Surface
Creating a perfectly flat wood workbench top is key for DIY projects. It’s important whether you’re experienced or just starting. A smooth and level surface improves the quality and speed of your work. We’ll cover the steps to flatten your workbench top and get a flawless finish.
First, check how flat your workbench top is. If it’s off by more than 1⁄32″, you need to fix it. The example bench we saw was off by over 1⁄2″, which is a big deal. Before flattening, fix any repairs like fixing edge boards that have come apart.
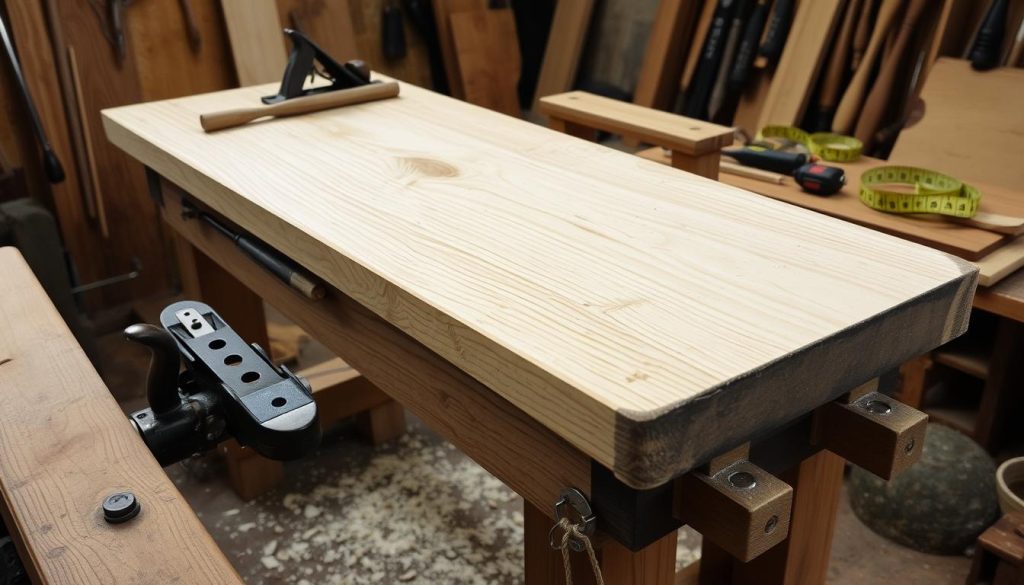
To flatten the top, use a router on a sled or carrier. This method helps remove bumps and makes the surface even. You’ll make router cuts across the bench’s width in three spots to find the right depth. Then, use those measurements to guide the router along the bench’s length, making passes to flatten it evenly.
If you don’t have power tools, a hand plane works well too. It might take longer, but it can make the surface smooth and level. Don’t forget to chamfer the edges to stop grain blowout and finish with an oil/varnish blend for protection and shine.
Choosing your method, focus on making the workbench top perfectly flat. This careful work makes woodworking tasks easier and your projects more accurate.
- Check the workbench top’s condition and fix any repairs needed.
- Use a router on a sled or carrier to level the surface.
- Or, use a hand plane for flattening, remembering to chamfer the edges.
- Finish with an oil/varnish blend for protection and shine.
- Ensure the top is perfectly flat to improve your woodworking efficiency and precision.
By following these steps, you’ll turn your workbench into a masterpiece. It’ll be ready for any DIY project with ease. Happy woodworking!
Trimming and Squaring the Workbench
Now that your woodworking bench is built, it’s time for a professional finish. You need to trim and square the bench for a clean look. This makes sure it looks even and symmetrical.
Start by cutting the bench ends with a hand saw, making sure they match the legs. Be careful and aim for straight lines. After cutting, use a square to check if everything is level and square.
If needed, sand or plane the surface for a smooth finish. This careful work makes your woodworking bench look great and last a long time.
| Workbench Trimming Tips | Workbench Squaring Tips |
|---|---|
|
|
By following these steps, you’ll turn your DIY workbench into a polished, woodworking bench. It will be ready for all your projects with precision and style.
Installing Woodworking Vises on Your Wood Workbench
Adding the right woodworking bench vises to your workbench boosts its use and flexibility. You can choose from front vises, side vises, or both. These DIY workbench accessories help keep your work steady during various woodworking tasks.
Front Vise Options
A front vise is a popular choice for many woodworkers. It should be at least 10 inches wide to handle general work and smooth edges. Make sure to notch the benchtop so the vise’s inner jaw fits flush with the bench’s front for best results.
Side Vise Considerations
Many woodworkers also install a workbench side vise for extra clamping power. This is great for holding work in different positions. Remember to drill dog holes along the bench’s top for various clamping setups.
Choosing the right DIY vise installation method is key. Make sure your woodworking bench accessories work well together to improve your workbench’s efficiency and versatility.
Customizing Your Wood Workbench Design
Building a DIY workbench customization lets you make it fit your needs and style. It’s great for both experienced woodworkers and beginners. Woodworking bench personalization means you can make a space that shows off your style and how you work.
Adding a tool well is a great idea. It keeps your tools close at hand, making work easier. You might also think about storage drawers or a pegboard to keep things neat in your custom workshop setup.
Consider adding a built-in power strip too. It lets you power your tools and devices easily, without cords getting in the way.
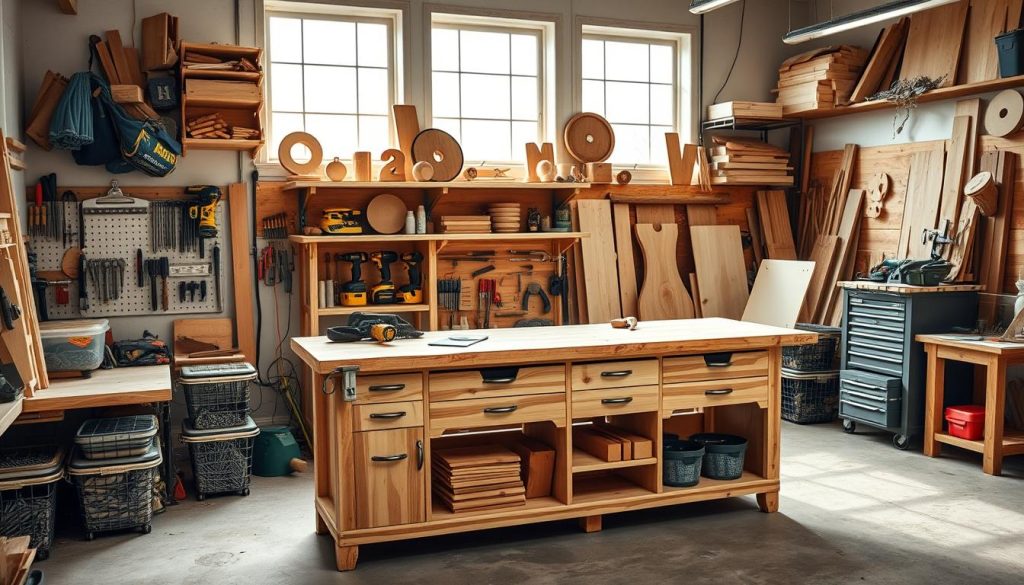
There are so many ways to customize your workbench. By making it fit your needs, you’ll get a valuable tool that boosts your work and sparks creativity.
“The beauty of building a workbench from scratch is the ability to customize it to your specific needs and preferences.”
Looking to add special storage or power options? A DIY wood workbench is the perfect place to express yourself.
Wood Selection for a Durable Workbench
Choosing the right wood for a workbench is key to making it last long. Popular choices include fir, spruce, oak, maple, and hard pine. These woods are strong, durable, and resist wear well, making your workbench reliable for many years.
Softwoods like fir and spruce are cheaper for the frame and top. Hardwoods like oak and maple are very sturdy. Using redwood or Douglas fir can be a good choice if you like the look and it’s available in your area.
Think about how you’ll use your workbench and the tools you’ll use it with. Softwoods like pine are good for gripping and holding workpieces well. Hardwoods like ash are stiff and great for benches with heavy machinery. The wood for a workbench should match your style, budget, and workshop needs.
“Choosing the right wood for your workbench is like selecting the foundation of your entire workshop – it sets the tone for your DIY projects and ensures your workspace remains reliable for years to come.”
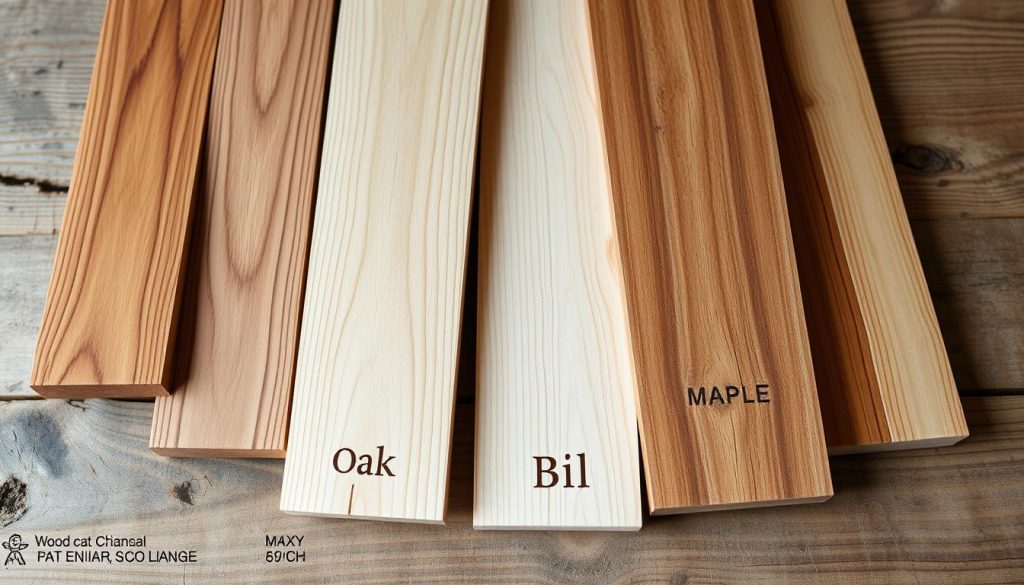
Whether you want a classic English workbench or a modern Roubo-style bench, the wood you choose is important. It affects how long your workbench lasts and how well it works. By picking the right workbench wood types for your needs, you can make a workbench that’s strong and fits your style for all your DIY projects.
Essential Tips for Building a Sturdy Wood Workbench
Building a strong and lasting wood workbench needs careful attention and the right methods. Keep these tips in mind to make a solid, dependable workspace.
Start by using top-notch wood without big flaws. Check each piece for straightness, flatness, and strength. Strong joints like mortise and tenon or lap joints make the frame strong and able to handle heavy use.
It’s also key to make sure the workbench top is flat. Plan well, measure accurately, and assemble with care. A well-aligned and squared workbench is stable, level, and can hold heavy loads without bending or shaking.
- Use high-quality, defect-free lumber
- Employ robust joinery techniques
- Ensure the top is perfectly flat and level
- Carefully align and square all components
By using these tips for woodworking bench building, both DIY fans and experts can make a strong, lasting DIY workbench. This will be a reliable, stable place to work for many years. Putting in the time and effort to build a quality workbench greatly improves the success and efficiency of any woodworking project.
Workbench Dimensions and Size Considerations
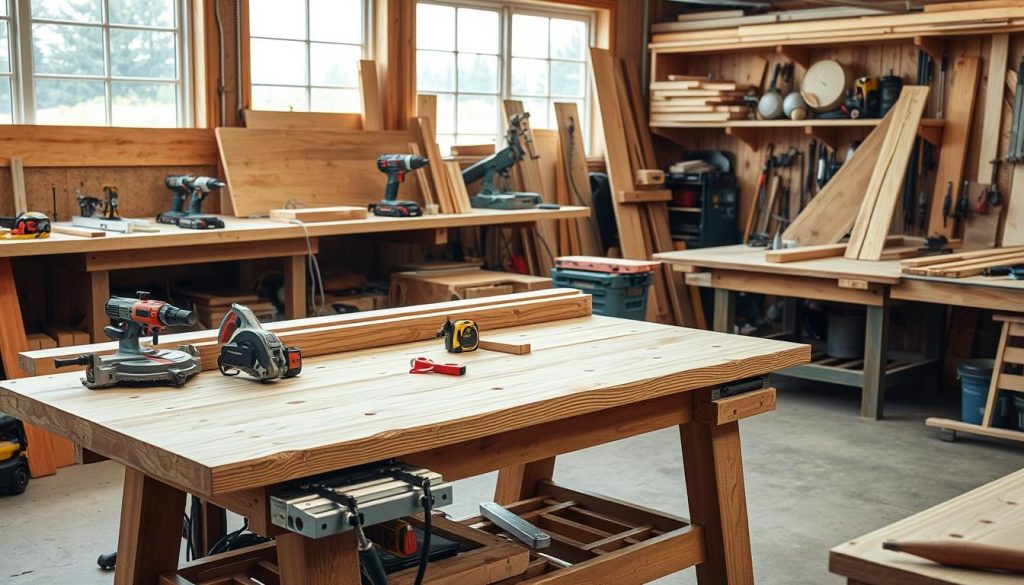
When making a custom woodworking bench, think about the size and dimensions. The space you have and your needs will help pick the right workbench size. There’s no one-size-fits-all, but some guidelines can help you find the best DIY workbench dimensions for your space and projects.
A popular size for a woodworking bench is 30 inches tall, 21 inches wide, and 6 feet long. This size fits many DIY and professional tasks. You can adjust the height, width, and length to fit your workspace and how tall you like to work.
Some woodworkers like a wider bench, like 24 inches, for more stability and to keep tools from falling off. Others choose a narrower 22-inch bench to save space and be more flexible. The DIY workbench dimensions you pick should match your space, projects, and what you prefer.
| Workbench Model | Dimensions | Weight | Features |
|---|---|---|---|
| Dash-Board Workbench | 92″ x 23.75″ x 0.5″ | ~60 lbs | Designed for complex projects, large-scale woodworking, furniture making, and extensive crafting |
| Dash-Board ShortCut | 46.75″ x 24.5″ x 35.5″ | 45 lbs | Suitable for smaller spaces, DIY home projects, small-scale woodworking, and portable work |
When designing a custom woodworking bench, think about the space you have, how you’ll use it, and what you prefer. Choosing the right workbench size lets you make a space that’s both versatile and functional for your DIY and professional projects.
Workbench Project Costs and Budget Planning
Building a DIY wood workbench is a great way to save money for both hobbyists and professionals. The total cost for materials is between $51 and $100. This makes it a smart choice for those on a budget. The main costs include lumber, wood glue, dowels, and angle brackets for the cost of building a workbench.
The type of wood you choose can affect your DIY workbench budget. Using high-quality or reclaimed wood might raise the price. But, picking more affordable lumber can keep your project budget-friendly.
Here’s a breakdown of estimated costs:
- Wood: $50 – $80
- Wood Glue: $5 – $10
- Dowels: $3 – $5
- Angle Brackets: $3 – $5
By smartly choosing materials and planning your DIY workbench budget, you can make a strong and useful workbench. With creativity and resourcefulness, you can build your ideal workshop without spending too much.
“The true cost of a DIY workbench project is not just the materials, but the lasting value it brings to your workshop.”
Adding Functionality with Workbench Accessories
Turn your basic wood workbench into a top-notch workshop tool by adding practical accessories. These upgrades boost your workbench’s functionality and versatility. They make it a key tool for your DIY projects.
Begin by putting a power strip on one of the bench legs. This gives you easy access to outlets. You can power your tools and charge devices right at your workstation. Also, consider a shop light above the bench for better visibility and lighting during projects.
A pegboard is great for organizing your woodworking bench accessories. Attach a pegboard panel behind your workbench. Hang your most-used tools and small items for quick access.
- Incorporate a Pony vise with a 9″ reach between the jaws for an affordable way to enhance your workholding capabilities.
- Add a Clamp Vise with a pop-up bench dog feature to further increase your options for securing workpieces.
- Drill bench-dog holes into the workbench top to accommodate a variety of clamping and holding solutions.
Protect your workbench with rosin paper, which is easy to replace when it gets worn. Make a simple paper dispenser with scrap wood to keep rosin paper handy.
For curved or odd-shaped workpieces, use bench dogs and clamps together for secure holding. Bench Cookies with risers can also elevate and grip your projects.
Add a shelf or hollow box under the workbench for extra storage. This is perfect for storing tools, supplies, and even adding weight with paving bricks for stability.
Finally, think about adding retractable casters to your workbench legs. This lets you easily move the bench around your workshop. It makes your workbench more versatile and adaptable to your needs.
“Transforming an ordinary table into a workshop hero is all about adding the right DIY workbench upgrades and customizing a workbench to suit your needs.”
Wood Workbench Maintenance and Care
Keeping your wood workbench in top shape is key for a great workspace. Regular care keeps your workbench strong, reliable, and ready for your DIY projects. This way, it stays a central part of your workshop for many years.
First, caring for a woodworking bench means cleaning it often. Clean the surface daily or weekly to get rid of dust, debris, or spills. These can harm the wood if left unchecked. It’s crucial to clean up wet messes right away to avoid damage.
Next, DIY workbench upkeep might include refinishing the work surface now and then. Use 220 to 400 grit sandpaper to sand the top. Then, apply a protective finish like polyurethane or varnish. This protects the wood from wear, scratches, and stains.
To keep your workbench strong, check for loose parts often and fix them quickly. If drawer slides get hard to use, replace them with new kits. Using self-healing cutting mats and moisture-absorbing packets can also help keep your bench in good shape.
The amount of wood workbench maintenance and care you need depends on how you use it. By following these simple steps, your wood workbench will stay a trusted and lasting part of your DIY projects.
“Proper maintenance and preventative care can significantly extend the usable life of workbenches, leading to years of reliable service.”
Conclusion
This article has shown you how to make a strong and customizable DIY wood workbench. It’s perfect for both hobbyists and professionals. You can make a workspace that fits your needs and likes. With the right materials and techniques, you’ll get a workbench that lasts for years.
Success in making a wood workbench comes from careful planning and doing each step well. Think about the size, type of wood, and important features. This way, your workbench will look good and work well for your projects.
Building your own DIY wood workbench is rewarding. Enjoy the creative process and learn from any problems you face. You’ll be proud of your work. With what you learn from this project, you’ll make your workshop better and more personal. It will help you for many years.